Workshop air can be pretty nasty stuff. It’s not something that I ever really worried about or thought about, but my brother was concerned enough to pick up a fan and some filters. He did some math that I don’t remember to determine that based on the estimate of the number of cubic feet of air space that exists in the shop, we would need a certain number of CFMs to be able to cycle the air at least 10-12 times per hour. He also worked out that a MERV 16 air filter would give us the level of filtration on par with an N95 mask. Understand that I haven’t done any of the research on that, I’m just going off of what he told me and am assuming that he’s got it it right.
At any rate, he brought an exhaust fan plus a box of MERV 16 and MERV 13 filters out to the shop and said that he was going to call around to find a fabricator to put all that together. I figured that was my cue.
For the first unit, I mocked up where the filters would go in relation to the fan:

The filters are 16×25 with the MERV 13 in the front there being a 1″ filter and the MERV 16 being a 5″. Later on we will get to the important fact that these are nominal dimensions not actual dimensions. I set the fan back so that it would be right around 7 inches from the outlet of the MERV 16 filter and then centered it up. It’s a 12″ fan in a 14 7/8″ square enclosure.
When it comes to fluid dynamics, I don’t really know anything so the basic plan was to make it as simple as possible. I didn’t want any hard bends or anything that might cause the air to stall or create any pressure inside the unit. To that end, the filters would be mounted in a box at the front which would then angle in from the 25″ down to the 15″ for the frame of the fan.
Before starting to build anything, I spent about a half hour in the ducting section of the local Menards to see if there was anything there that would work off-the-shelf, but nothing really jumped out at me. The plan was to mount these from the ceiling, so the boxes needed to have enough rigidity so they didn’t collapse from their own weight. In the end, I chose 1 1/4″ x 1 1/4″ x 1/4″ angle iron. I’m not set up to weld aluminum and I couldn’t find anything thinner than 1/4″ readily available.
Step one was to build the frame to hold the filters. The front uprights came first:

Then they were tied together and the rear uprights were added:

I mocked the fan and filters up again to determine where the back rail needed to be and from there I worked out the angles. This was the point where I discovered that my angle gauge was at my brother’s house, so I had to do this as more of an estimation and it wound up a bit lopsided.


So far, so good. The next part was a bit difficult because the filters are slightly taller than the fan. I wanted it to have a solid base, so I set the bottom of the fan at the same level as the bottom of the filters and then brought the upper support for the fan out to meet the filter frame wherever it lined up.

Then it was the approximate measuring of the angles again and I tacked it together and checked it.

After some signature Toiletbird Industries Booger Welding, I got the fan bolted in and verified that everything was going to mount up properly.

With that frame built, I went ahead and threw a little bit of paint on it. Just some Rustoleum whatever that I had sitting around.

While the paint dried, it was time to contemplate the next problem: What to use to skin the frame. After looking around the shop, I settled on some aluminum flashing that had been on the shelf for years. To attach it in such a way that it would also be sealed against the air, I decided on construction adhesive. Right at the moment that I needed to get that adhesive, I found myself needing to quarantine a bit, so I couldn’t go shipping in-person. I put in my order for some Loctite PL3X 10oz tubes from Lowes. When I got the email that the order was ready, I headed over to the store and had them just dump the tubes in the back of the truck. Upon my arrival back at the shop, I discovered that what I ordered and what I got wasn’t quite the same.

That’s the PL375 adhesive not the 3X and it’s also the 28oz tube not the 10oz. Which is all well and good, but the only caulk gun that I had handy was the smaller one, so that wasn’t going to work. But, since any fool can fix stuff when they have the right tools, I figured out a way to make the larger tube work.
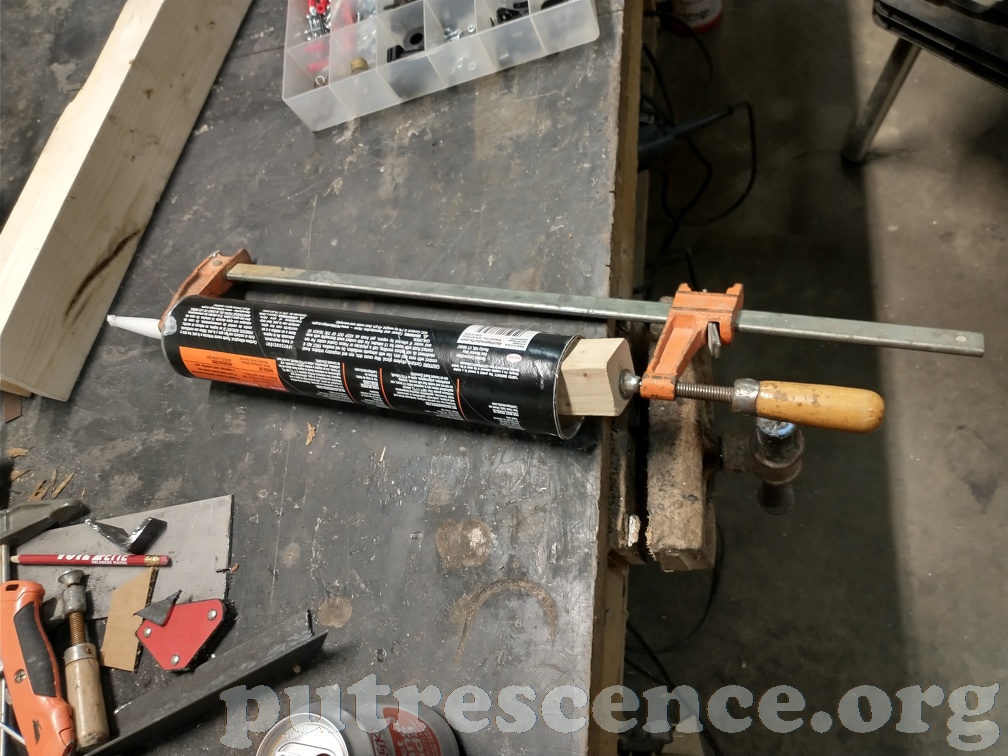
A little block of wood and a clamp got me back in business. I ran a bead of the adhesive around the frame and started sticking the aluminum flashing that I had cut up with the electric shears.


The Loctite 375 has a longer cure time (48 hours) than I really wanted, so I added in some self-tapping screws to hold the skin to the frame. I worked the drill and my daughter worked the driver.

Some of the panels needed to rely on the adhesive since there isn’t any space between the inside of the frame and the outside of the filters. Using a bunch of clamps and some wood, I set up the adhesive for its cure.

To power the fan, I put a small hole in the side panel, added a rubber grommet, and ran the power cable through. Some silicone sealant helped to seal things up.

Once the adhesive started to cure, it was time to test the unit, so I broke out a personal smoke generator and went to town.

Smoke went in the filter and clear air came out the back. What was kind of surprising to me was what the filter looked like after one personal smoke generator.

At this point, I was happy to have this completed especially since I was way ahead of schedule. But of course, that’s when I found out that the way my brother sized these, we needed a total of four of them. So back to work.
For the remaining units, I spent some time in SketchUp designing the frame so that I would have the exact sizes and angles for the support bits that connect the fan to the filters. With that design in hand and all the sizes, I borrowed a chop saw, ordered more steel, and got to it. The plan this time around was to go ahead and pre-cut all the steel and then go ahead and assemble. The chop saw would allow me to get all the angles correct since I had my gauge back and I could set the fence on the saw to get good straight cuts.

Once all the parts were cut, I started welding. The plan was to keep the progress of the three units more-or-less coordinated so that I could just work on them assembly-line style.


Once all the frames were built, I got to work with the electric shears and cut out the skins and attached them one by one. This time, I used just plain silicone for one unit and then some Dap construction adhesive for the other two. I’m anxious to see how those last over time. I was also able to fold the metal a little more precisely this time so that the corners looked a little bit better.


It is at this point that we go back to something I mentioned early on in this build. The 16x25x1 and 16x25x5 are apparently nominal sizes, not actual sizes. If I may rant for a moment here, it is incredibly stupid that we can’t call things by their actual sizes instead of using these descriptors that sound like dimensions but are only basically suggestions. The 5 inch filter is actually 15.875″x24.875″x4.375″ and the 1 inch filter is actually 15.75″x24.75″x.75″.
That means that when I sat down in SketchUp and built a filter box that needed to be 16″x25″x6″, I was planning everything 1/8″ too tall, 1/8″ too wide, and 1/4″ too deep. And when I designed that, I worked under the assumption that I would want a little bit of extra room in there so that I could get the filters in and out, so this was the result.

To take up the room on the sides, I added in some thicker weatherstripping. the additional depth was actually a pleasant surprise. The MERV 13 filters are about $10 each and after running for a fairly short amount of time with some welding going on, the first unit’s MERV 13 was absolutely trashed. Basically, the filters each trap a certain particle size and let smaller particles through to the next one. So if a cheap MERV 7 filter is put in front of the MERV 13 it should catch more of those larger particles and preserve the life of the more expensive filter behind it.
After thrashing hard to get the final three filters completed in time, I finally was able to get a class picture.

You can see how dirty the filter is on the first unit after only a few hours of service. We were using an air quality monitor to see how the systems were working and found that just a little bit of grinding and welding produced some pretty gnarly numbers.

The key will be how quickly they pull the levels down when they’re all running. We haven’t had a chance to do a full test yet, however, based on the math it appears that they should provide the ability to filter the air in the shop to a level that exceeds what most operating theaters utilize. The all-in cost for these is also much lower than a bought system. We’re using bladed fans instead of squirrel cages, but they’re still pushing around 900 CFM each, even with all the filters in front of them. Each system is using about $150 worth of filters and fans, $40 worth of angle iron, a few bucks’ worth of adhesive, screws, grommets, and welding wire. Since the flashing is something that was just sitting around, it’s hard to know exactly what that does to the cost, but roughly speaking each unit is probably around the $225-$250 range. A comparable pre-built system would be around $400 for an off-brand unit that will filter down to 1 micron. As I understand it, the MERV 16 will get down to .3 micron, though, and the filters that we’ve chosen also have charcoal in them to help reduce odors.
For now, we have set them on tables and saw horses to point freshly filtered air at people. The next job is going to be to get them mounted to the ceiling as a more permanent installation.